Looking for a way to add a touch of boho charm to your home? A macrame window covering might be just what you need! Combining the beauty of handmade art with practical functionality, macrame gives your space warmth, texture, and personality. Plus, making it yourself is a rewarding way to put your creative spin on a modern boho aesthetic. Whether you’re new to crafting or a DIY pro, this guide will walk you through the steps to create your own macrame window covering while enjoying the process every step of the way.
What Is Modern Boho Style?
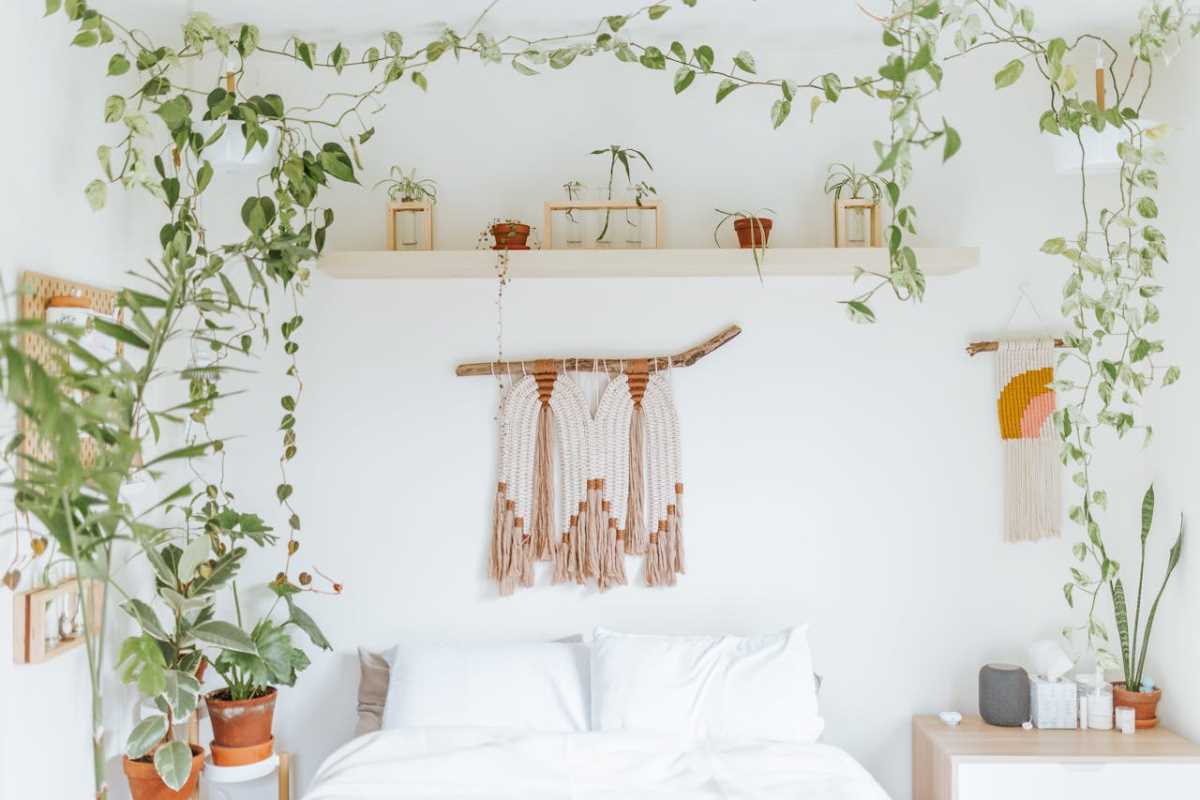
The modern boho aesthetic blends vintage-inspired elements with contemporary simplicity. It’s all about earthy tones, natural textures, and creating a space that feels inviting and lived-in. Think soft neutral palettes, cozy textiles, and an abundance of greenery. Macrame fits perfectly into this vibe, offering intricate patterns and soft flowy lines that add depth to a room.
When incorporated as a window covering, macrame provides a unique balance of privacy and light, allowing diffused sunlight to peek through its delicate knots. Handmade pieces like these give your space a personalized touch, making it feel more thoughtfully curated and cozy.
Why Choose Macrame for Window Coverings?
Macrame has been a beloved craft for centuries, but it’s made a big comeback in recent years, and for good reason! Unlike mass-produced curtains or blinds, macrame designs bring artistry to a functional space. The beauty lies in its versatility. You can create a piece that’s subtle and minimal or go bold with thick cords and eye-catching patterns.
Not only does macrame mesh beautifully with boho decor, but there’s also something therapeutic about hand-knotting your own design. It’s like bringing a piece of art to life! Plus, these window coverings are eco-friendly and durable, making them a sustainable home furnishing option.
Now that you’re inspired, it’s time to try your hand at creating your own.
How to Create Your Own Macrame Window Covering
Here’s everything you need to get started, from materials and preparation to step-by-step instructions for knotting and finishing your piece.
Materials You’ll Need:
- Macrame cord (cotton cord is ideal; choose a thickness between 3mm and 5mm for durability and ease of knotting)
- Wooden dowel or curtain rod (cut to fit your window)
- Scissors
- Measuring tape
- Optional: Beads or decorative accents for added flair
Basic Knots to Know
Before you begin, take a moment to practice a few foundational macrame knots. These are the building blocks for your window covering design.
- Lark’s Head Knot – Used to attach cords to your dowel or rod.
- Square Knot – A versatile pattern that can create both flat and spiral designs.
- Double Half Hitch Knot – Perfect for framing your design and creating diagonal lines.
- Overhand Knot – Simple and great for finishing off cords.
You can find tutorials online or follow step-by-step videos for extra guidance. Practice a little to build confidence!
Step-by-Step Guide:
1. Plan Your Design
Decide on the width and length of your covering. For a classic boho look, you can work within a window frame or aim for a long, draped piece that extends beyond it. Sketching your idea helps visualize the final project. Pinterest or Instagram are also great places to find inspiration!
2. Cut Your Cords
Start by cutting your cords to size. A good rule of thumb is to make each piece four to six times the desired length of your finished window covering. This gives you enough cord to create knots without running out.
3. Attach Your Cords to the Dowel
Once all your cords are cut, use Lark’s Head Knots to attach them evenly to your wooden dowel. Hang the dowel on a sturdy surface (a clothing rack or two hooks on the wall work well) so you can comfortably work on your design.
4. Begin Knotting
Start with the simplest knots, like square knots, to create a consistent pattern across the top. Gradually introduce more complex designs like a diamond or chevron pattern as you work your way down. Don’t rush the process; enjoy experimenting with different textures and shapes.
5. Add Decorative Elements (Optional)
If you want to add a personal touch, thread beads onto your cords or incorporate accents like wooden rings. These details can enhance the overall design and complement the boho look.
6. Trim and Finish
Once you’re happy with your design, trim the excess cord at the bottom to create an even fringe or a tapered shape, depending on your preference.
7. Hang Your Macrame Masterpiece
Using your dowel, hang the macrame covering directly onto your window frame or affix it with wall hooks above your window. Adjust as needed to ensure it hangs evenly.
Styling Your Finished Piece
Now comes the fun part—styling your macrame window covering in a boho-inspired space! Pair it with light curtains for a layered effect or leave it alone as a focal point. For a complete modern boho vibe, surround it with elements like woven baskets, rattan furniture, and lots of indoor plants, such as trailing vines or succulents. Soft neutral tones, cozy rugs, and textured throw pillows will tie everything together beautifully.
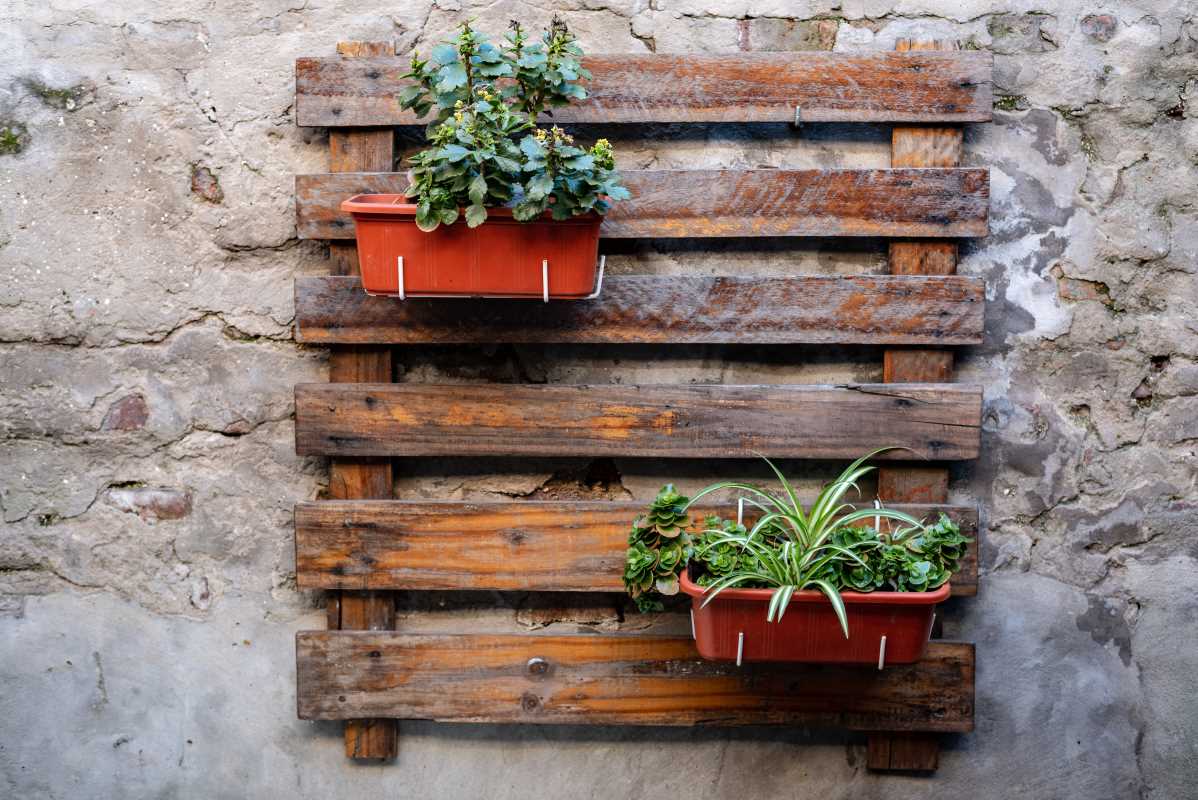
If your window is in a living room or bedroom, highlight the macrame with simple string lights to add warmth. For kitchens or smaller spaces, you could complement it with hanging planters nearby to continue the natural, hand-crafted theme.
 (Image via


