Vertical gardens are an innovative and stylish way to add greenery to your living space without taking up valuable floor space. Whether you live in a small apartment, a house with limited outdoor space, or simply want to transform a dull wall into a lush oasis, a vertical garden can be the perfect solution. These garden installations not only bring beauty and tranquility to any room, but they can also purify the air and promote a sense of well-being. Creating a vertical garden at home is easier than you might think. With a little creativity and the right materials, you can transform an unused wall or corner into a living piece of art. In this article, we will walk you through the steps of creating a stunning vertical garden, from planning and design to planting and maintenance.
Why Choose a Vertical Garden?
Before we dive into the how-to guide, let’s take a quick look at why vertical gardens are such a great choice for home decor and gardening:
- Space Efficiency: Vertical gardens make use of wall space, so you can enjoy greenery even in small or urban spaces.
- Aesthetic Appeal: A vertical garden can be a striking focal point, adding natural beauty and texture to your home.
- Air Quality: Plants naturally filter and purify the air by absorbing carbon dioxide and releasing oxygen.
- Improved Mood: Studies show that having plants in your living environment can reduce stress and improve mental well-being.
- Sustainability: Vertical gardens can help grow your own herbs, vegetables, and flowers, promoting a more sustainable lifestyle.
With these benefits in mind, let’s explore how you can create your own stunning vertical garden.
Step 1: Plan Your Vertical Garden
The first step in creating a stunning vertical garden is to plan its design and choose the right location. Consider the following factors:
1. Available Space: Indoors or Outdoors: Will your vertical garden be placed inside your home or in your garden? Outdoor vertical gardens often require more durable materials to withstand the elements, while indoor gardens can be more delicate.
- Wall Size: Measure the wall or space where you plan to place your garden to determine how much space you have. The size of your vertical garden will depend on the available wall area.
- Light Conditions: Different plants have different light requirements, so be sure to choose a spot that provides the appropriate amount of sunlight. If you’re creating an indoor garden, consider using grow lights for plants that need more light.
2. Style and Aesthetic
- Modern and Minimalist: If you prefer clean lines and simplicity, a grid system or wall-mounted planters might suit your taste. This style works well for succulent or herb gardens.
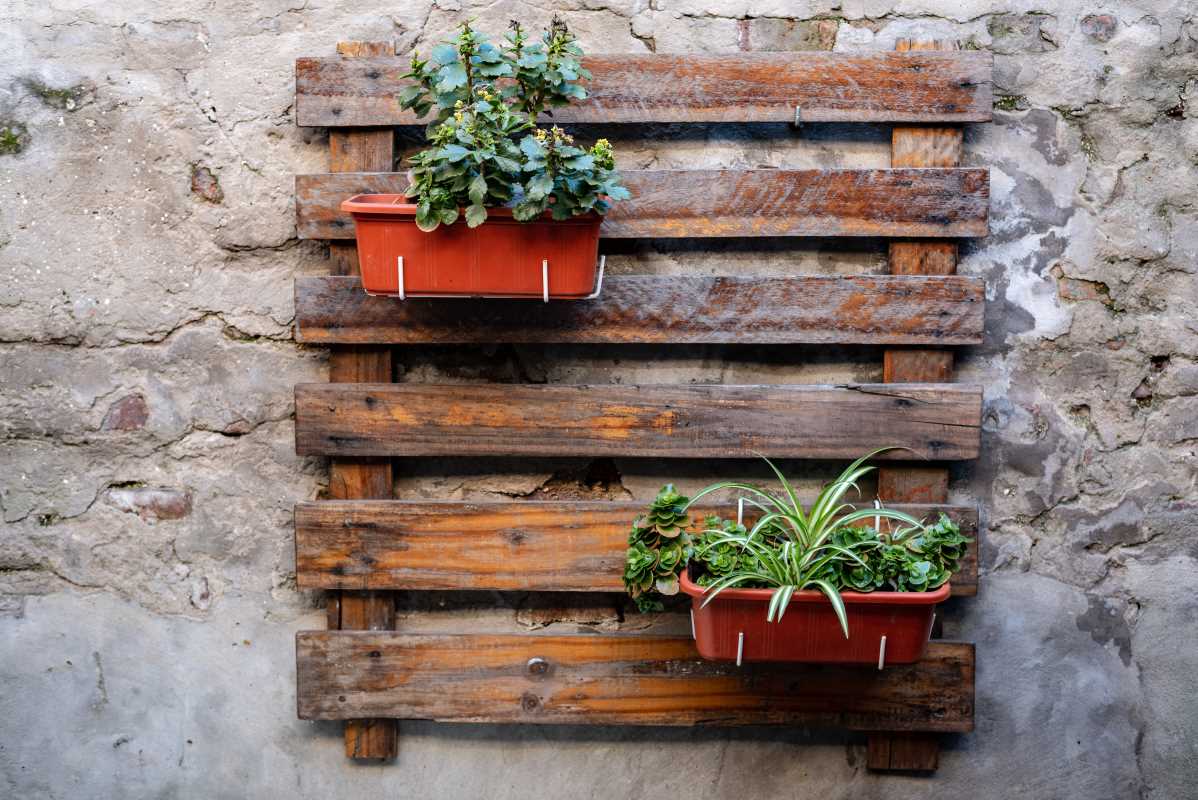
- Rustic or Bohemian: For a more eclectic or natural look, consider using reclaimed wood, old pallets, or hanging baskets to create a vertical garden that exudes rustic charm.
- Vertical Hydroponic System: If you want to grow herbs, vegetables, or even strawberries indoors, a hydroponic system may be ideal. These systems use water and nutrients instead of soil to grow plants vertically.
Step 2: Choose the Right Materials
Once you’ve planned the design of your vertical garden, it’s time to gather the materials you’ll need. Here are some common materials used for vertical gardens:
1. Planters and Pots
- Wall-Mounted Planters: These are available in various sizes and materials such as plastic, metal, or ceramic. They can be attached directly to the wall, creating a neat and organized look.
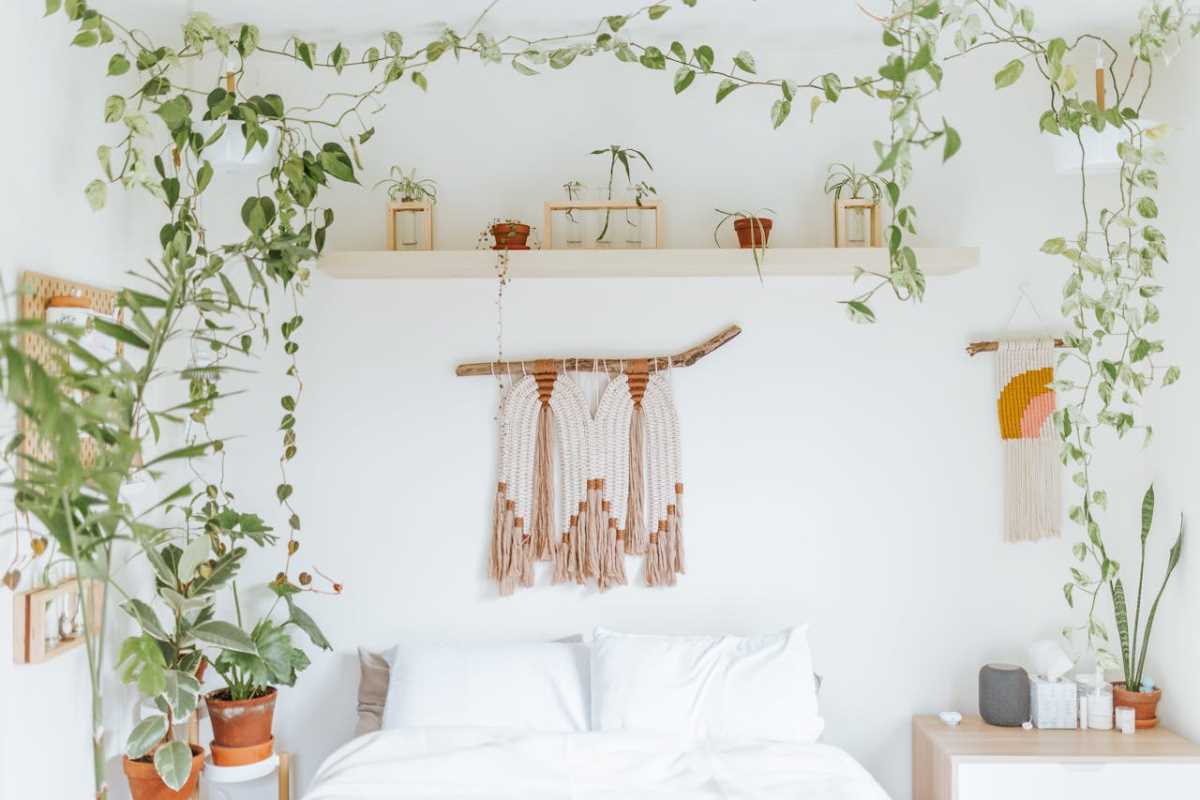
- Hanging Pots or Baskets: If you want a more relaxed, boho feel, hanging baskets can be a great choice. These can be suspended from the ceiling or mounted on a sturdy wall bracket.
- Reclaimed Wood or Pallet Gardens: If you’re looking for a DIY project, consider using old wooden pallets or planks to create a rustic vertical garden. Simply screw the pallet to the wall and fill the spaces with soil and plants.
2. Trellises and Grids: A trellis or grid is an excellent choice if you want to grow climbing plants like ivy, morning glory, or tomatoes. The structure will allow the plants to grow upward and spread across the vertical space, creating a lush green wall.
3. Irrigation Systems: If you plan to create a larger vertical garden, an irrigation system can help you maintain your plants without constantly watering them by hand. There are various types of irrigation systems, including drip irrigation and soaker hoses, that can be installed to ensure even watering.
4. Growing Mediums
- Soil: Traditional soil works well for most plants, but you may need a lightweight, well-draining soil mix for vertical gardens to prevent waterlogging.
- Hydroponic Media: For a hydroponic system, you’ll need a growing medium such as perlite, coconut coir, or rock wool to support the plants in water-based setups.
Step 3: Select the Right Plants
Choosing the right plants for your vertical garden is essential to ensure that they thrive and create the desired look. Consider the following:
1. Light Requirements
- Full Sun Plants: If your vertical garden gets plenty of sunlight, consider planting sun-loving varieties like succulents, lavender, or tomatoes.
- Low-Light Plants: For indoor vertical gardens with limited sunlight, choose plants that thrive in low-light conditions, such as ferns, pothos, snake plants, and peace lilies.
2. Plant Size and Growth Habit: Choose plants with compact growth habits for smaller vertical gardens. Succulents, herbs, and small flowering plants are great choices. For larger spaces, you can experiment with trailing vines, climbing plants, or vegetables that can be supported by a trellis.
3. Aesthetic Considerations: Mix different textures, colors, and shapes to create visual interest. Consider using a combination of flowering plants, greenery, and even edible herbs for a well-rounded garden.
Step 4: Install Your Vertical Garden
Now that you’ve planned your design, chosen your materials, and selected your plants, it’s time to assemble and install your vertical garden. Here’s a general process for installation:
1. Install the Base Structure: If you’re using a wall-mounted planter system, secure the planters to the wall according to the manufacturer’s instructions. If you’re using a pallet or trellis, attach the structure to the wall or mount it using appropriate hardware.
2. Arrange Your Plants: Start by placing your plants in the containers or on the trellis to ensure that they fit well and look balanced. Experiment with different arrangements before planting. Once you’re happy with the layout, fill the planters with soil or your chosen growing medium, and plant your selections.
3. Add Irrigation (if necessary): If you’re using an irrigation system, install it according to the product instructions to ensure that your plants receive consistent watering.
Step 5: Maintain Your Vertical Garden
To keep your vertical garden looking its best, regular maintenance is essential. Here are some key maintenance tips:
- Watering: Ensure that your plants receive adequate water, especially in the warmer months. Check for signs of dehydration or overwatering and adjust accordingly.
- Pruning and Trimming: Regularly trim dead leaves, stems, or vines to maintain the aesthetic of your vertical garden. For climbing plants, prune them to keep them contained within the desired space.
- Fertilizing: Depending on the types of plants you have, you may need to fertilize periodically to keep them healthy and vibrant.


